S - L) Presentation
By Industrial Training Committee July 31, 2017 Internship Flow for Student No comments yet
Create your "Presentation" so that when your internal supervisor visit you, they could evaluate your live presentation as well as the presentation content that you have created here.
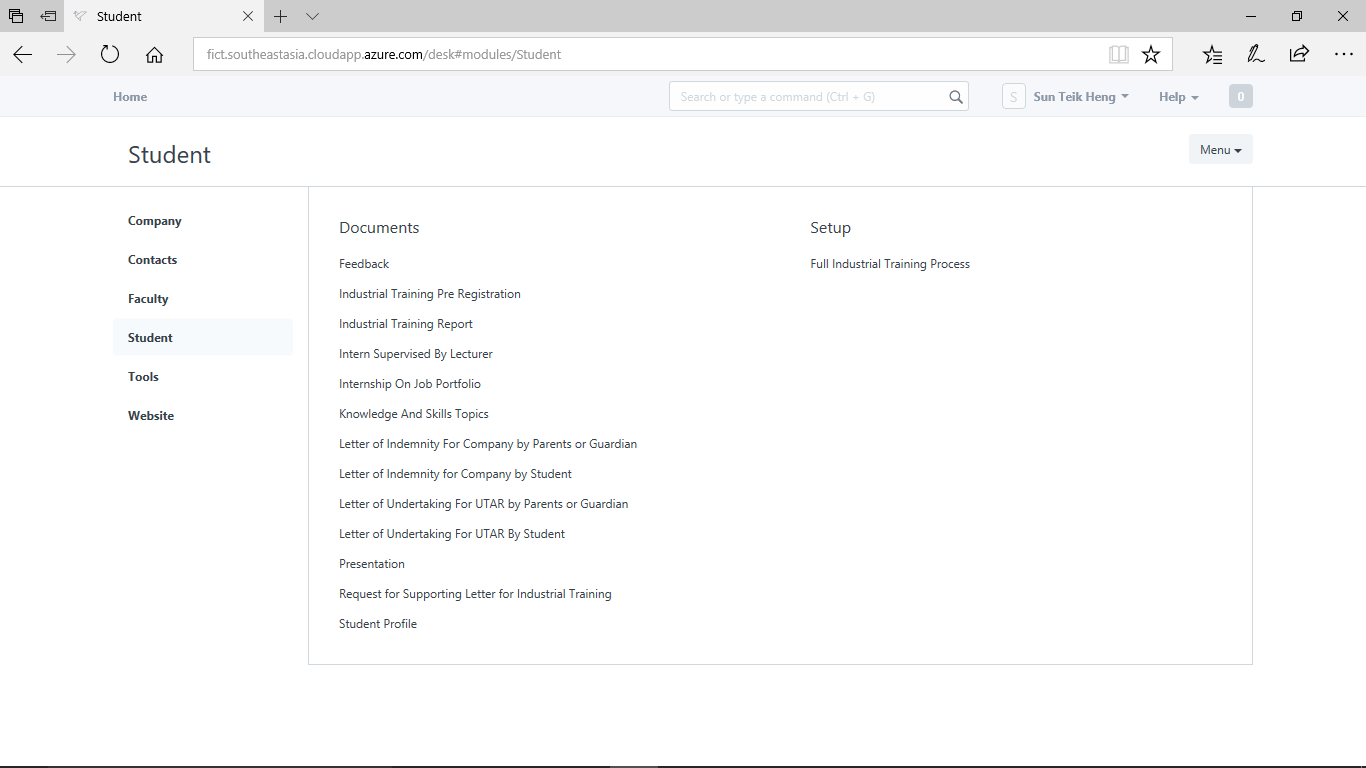
Step 1) Click "Presentation"
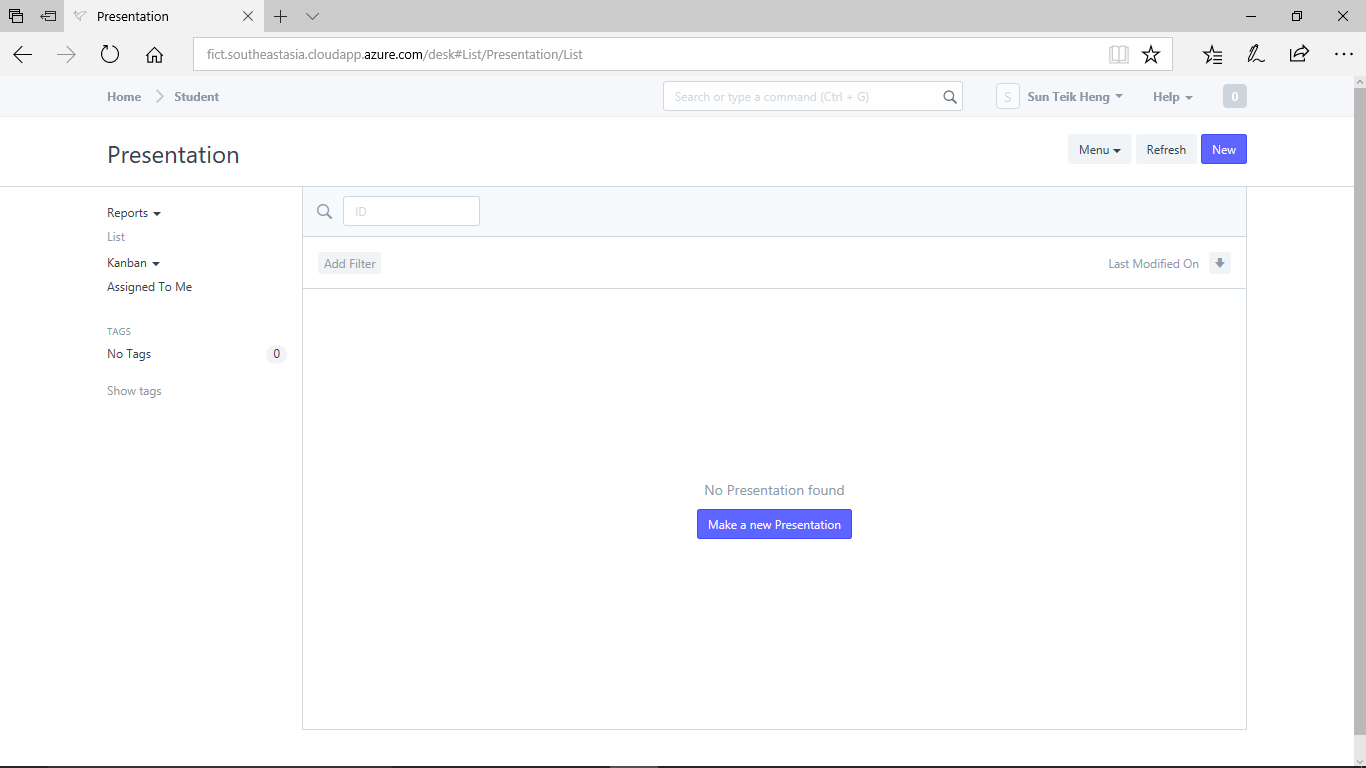
Step 2) Click "Make a New Presentation"
Step 3) Select your "Student ID"

Sep 4) Expand "Par B Section"
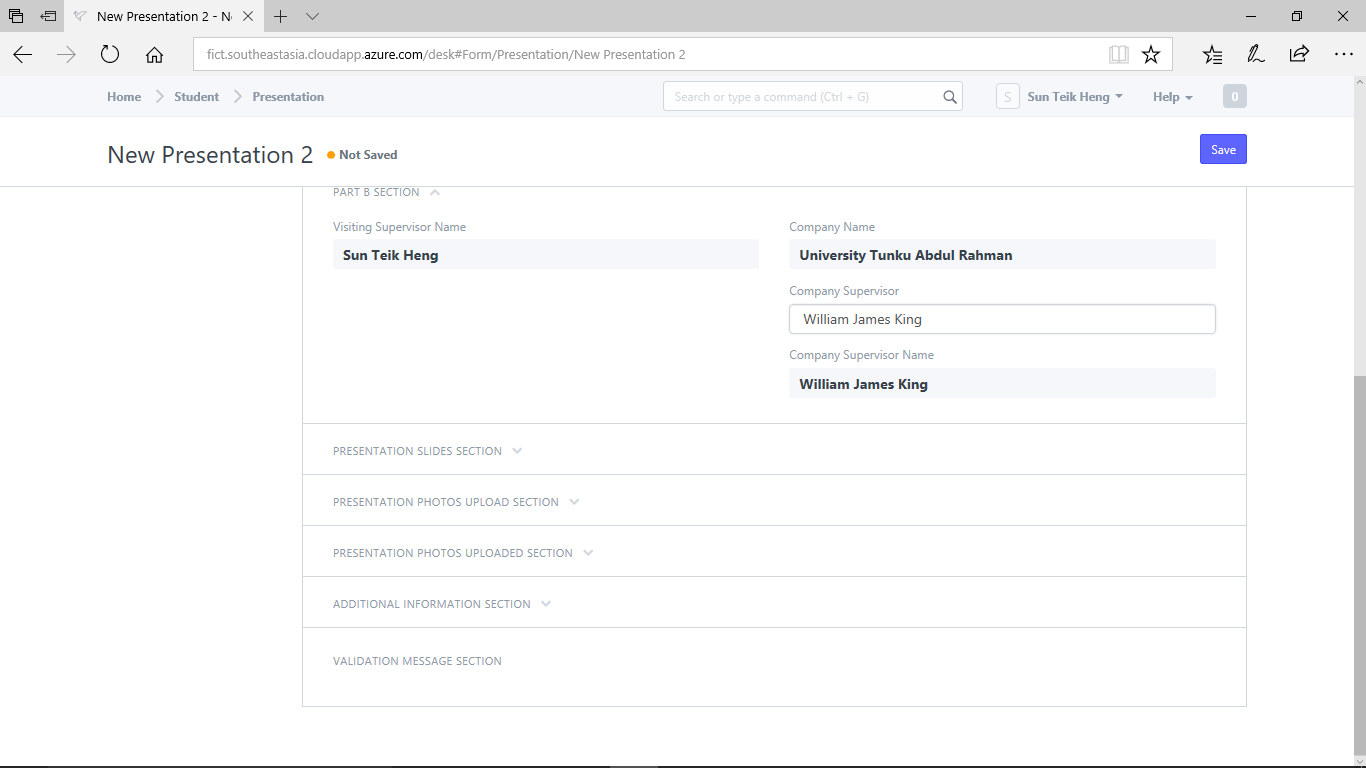
"Part A Section" contains your particulars and the information will be auto-populated.
Expand "Part B Section"
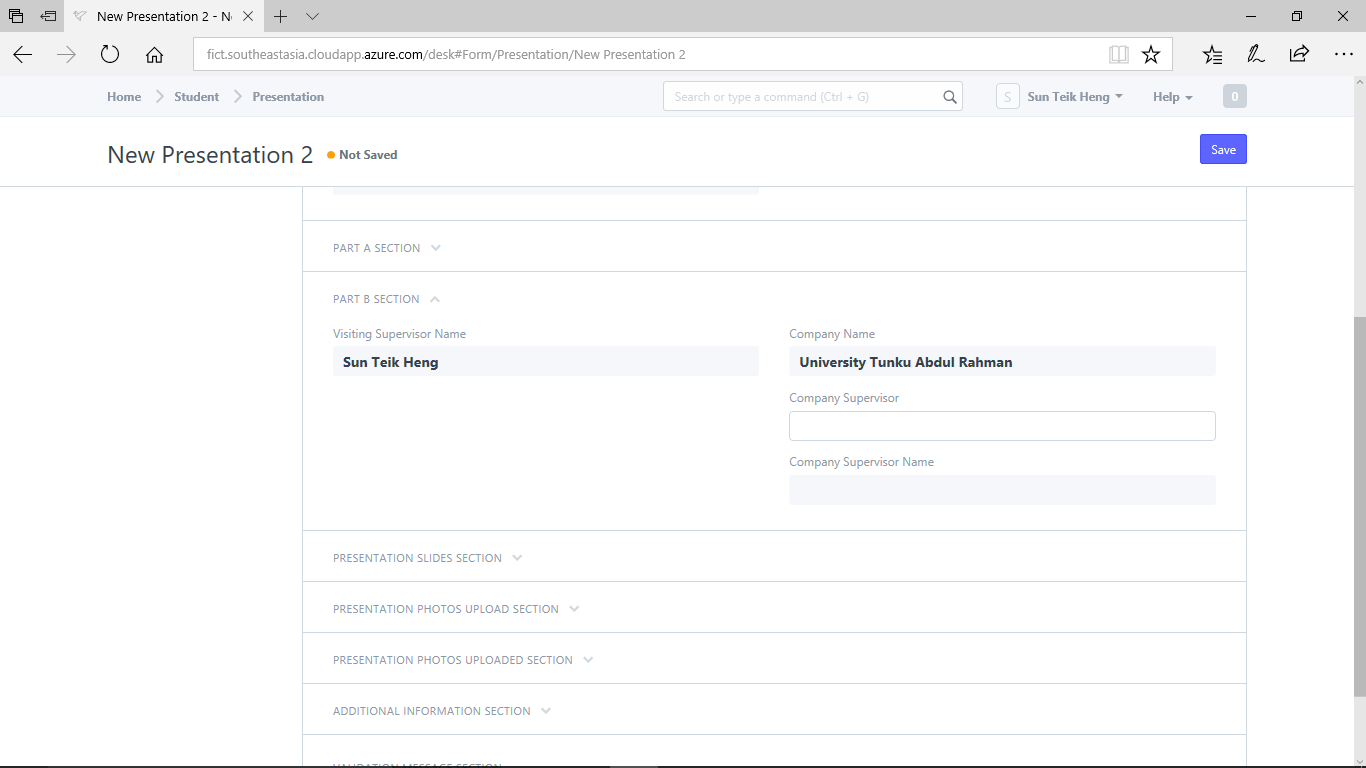
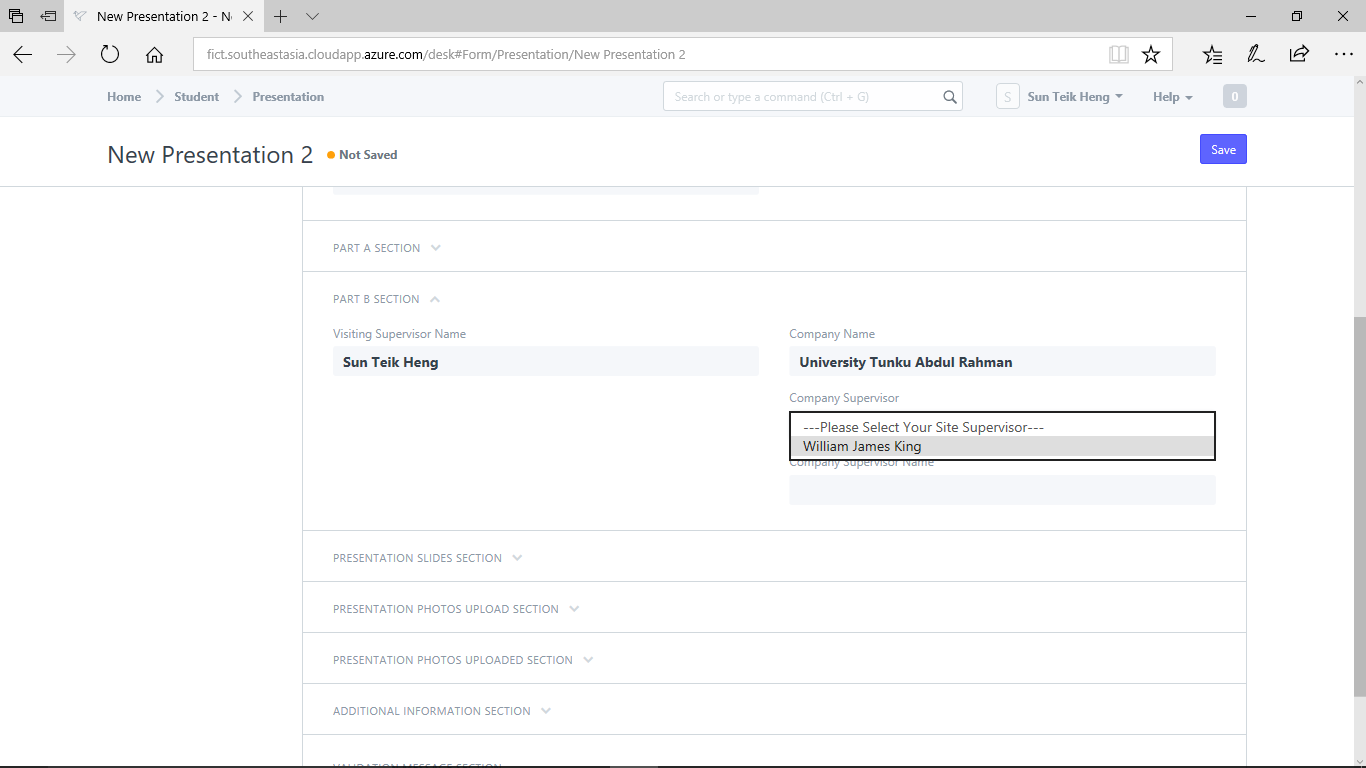
Select your "Company Supervisor".
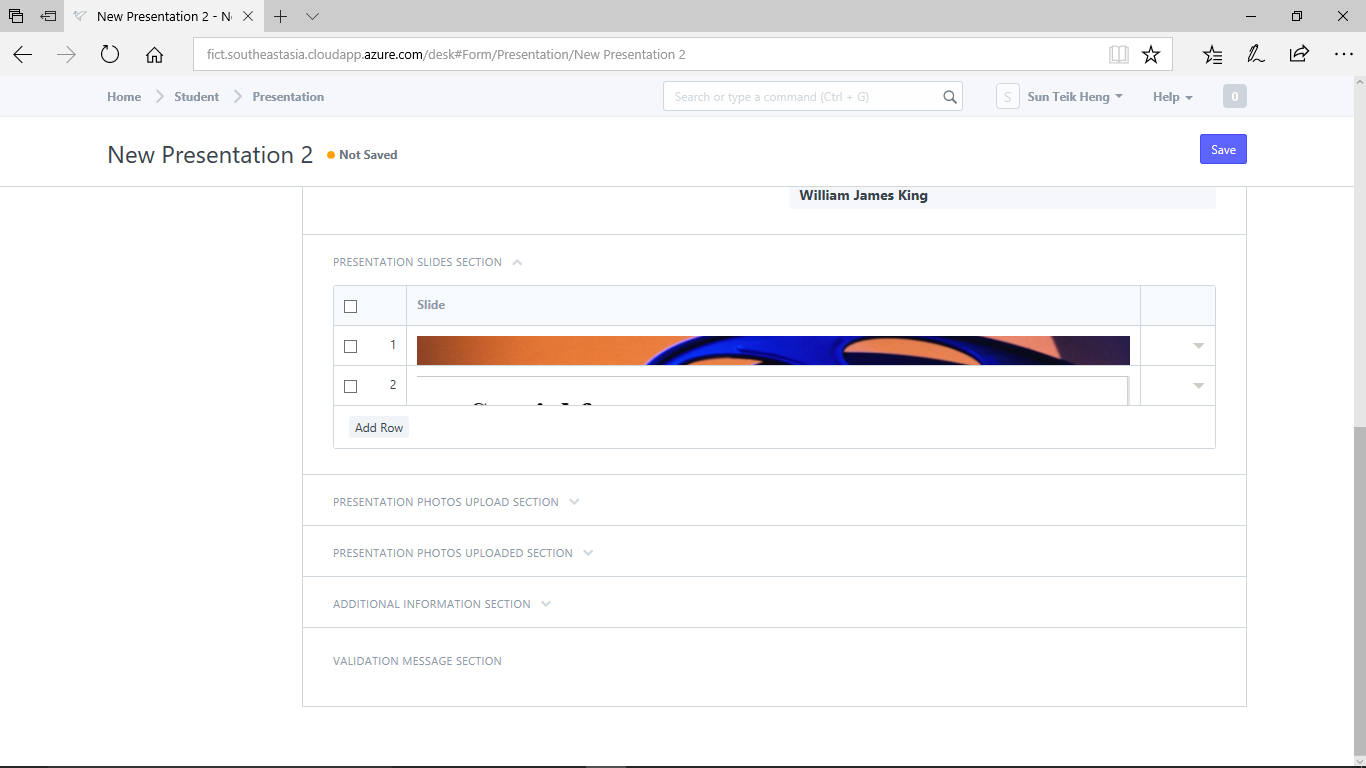
Step 5) Expand "Presentation Slides Section"
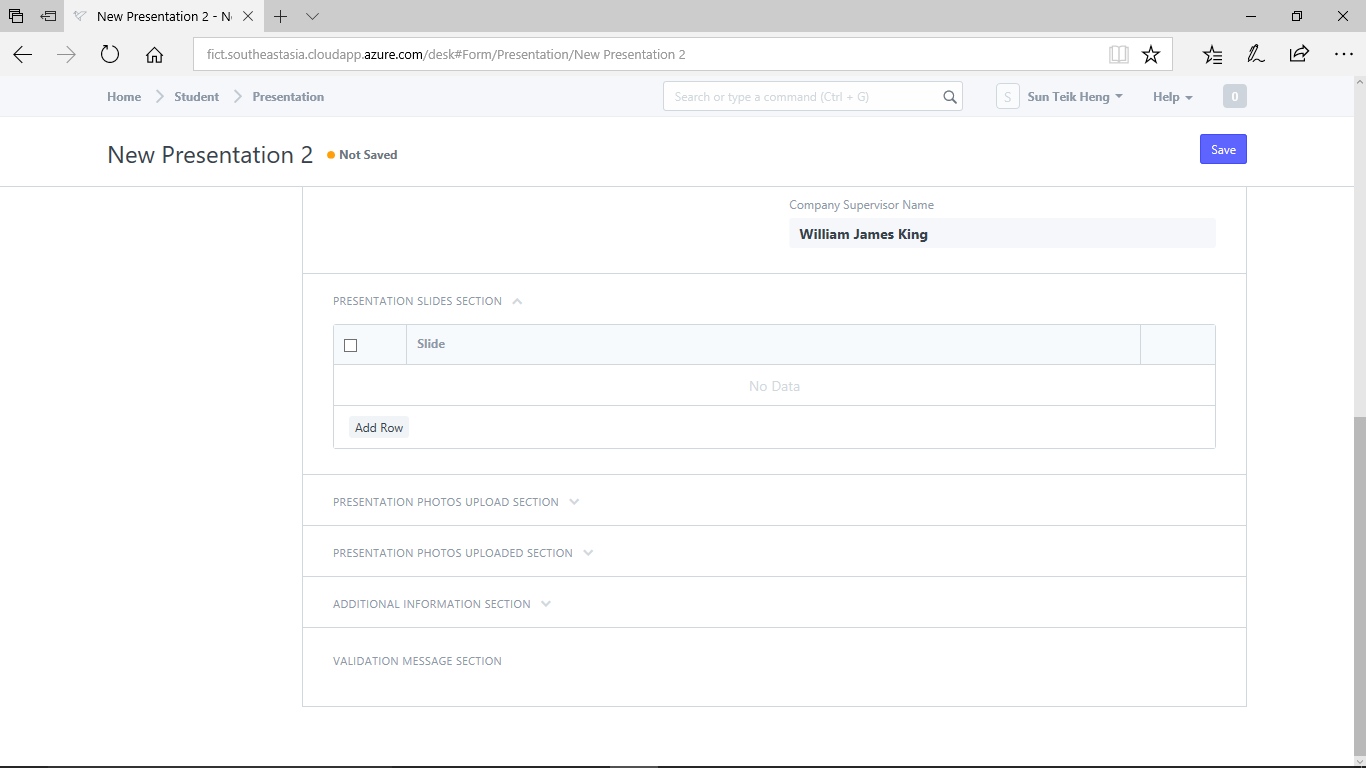
Add a new row for each presentation slide that you want to create.
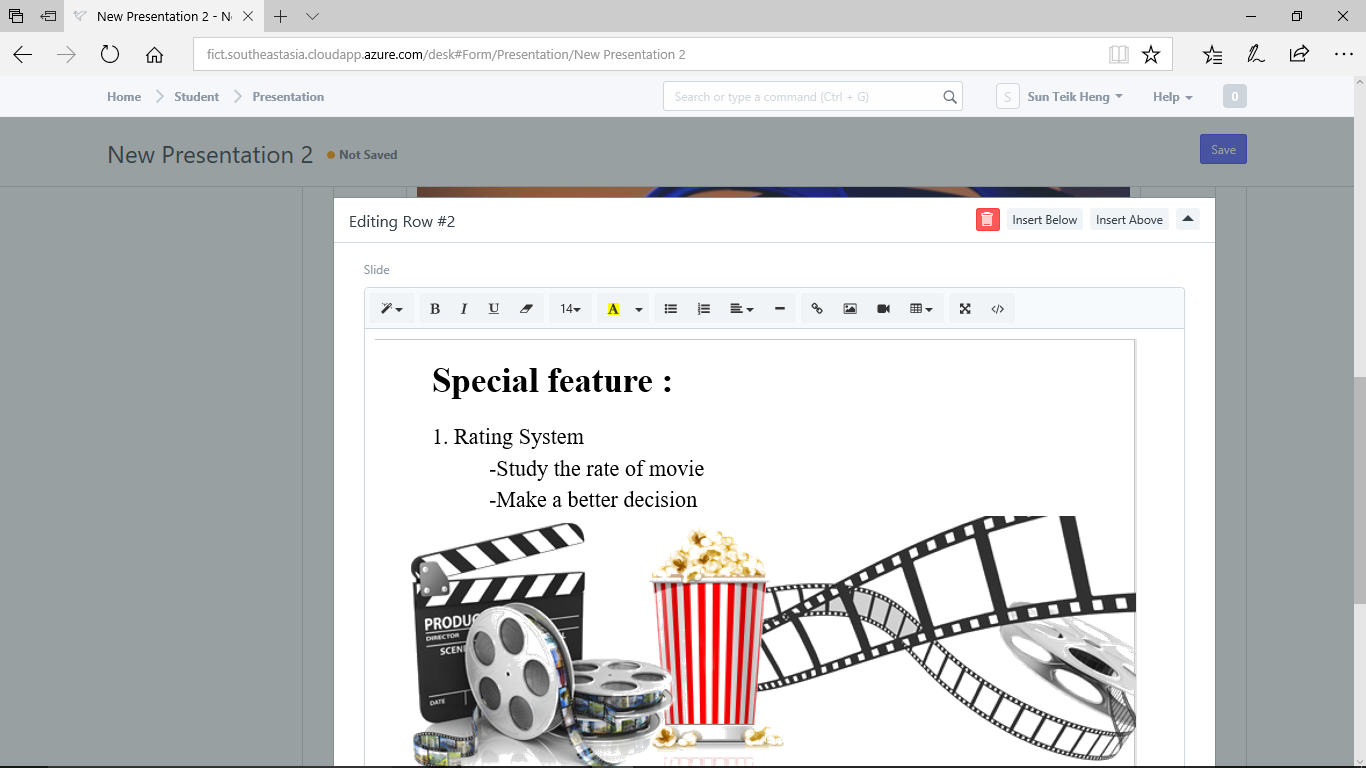
Click "Add Row" and then click the "Expand" button to view more information.
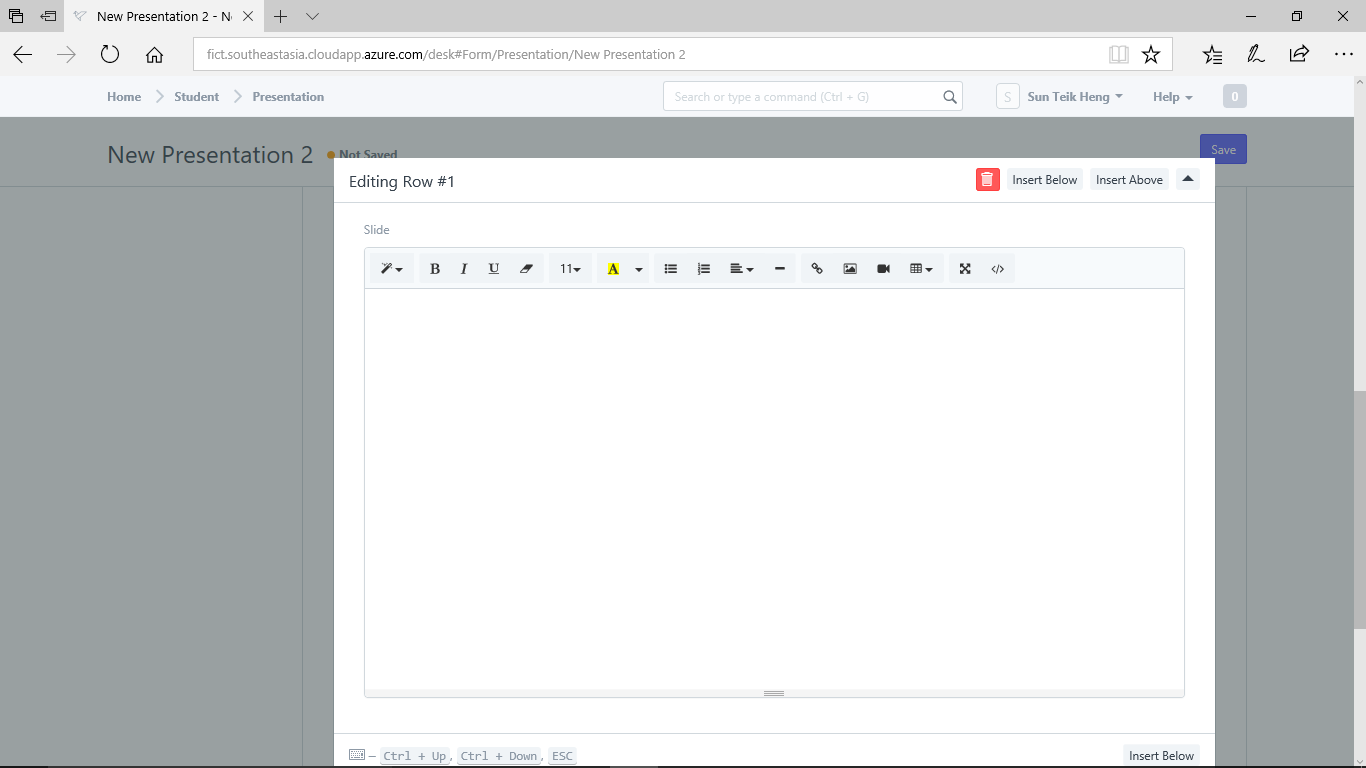
Write presentation and include pictures, images, charts, diagrams, artifacts, etc.
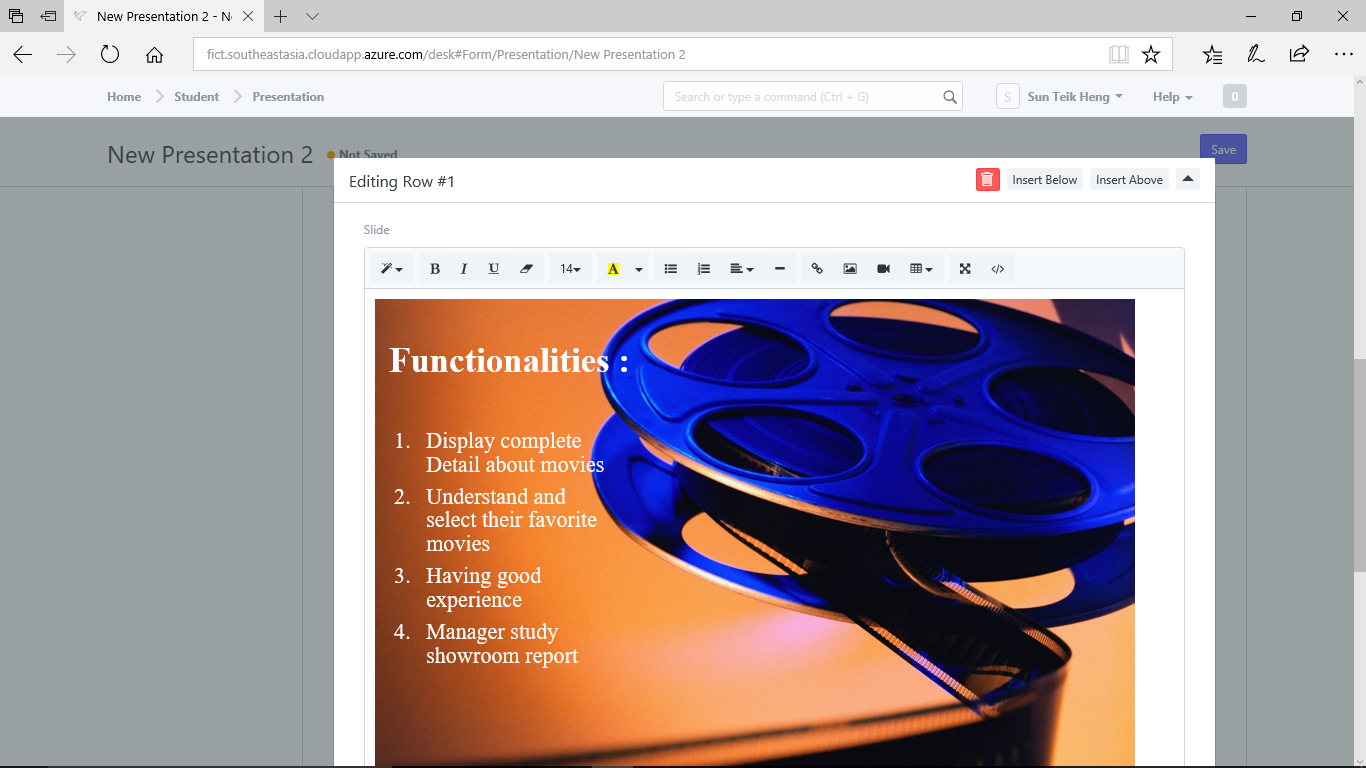
Return to main screen and click "Save".
Add the content for the next slide by clicking "Add Row" again.
Continue for as many slide as you have.
When you are done, click "Save".
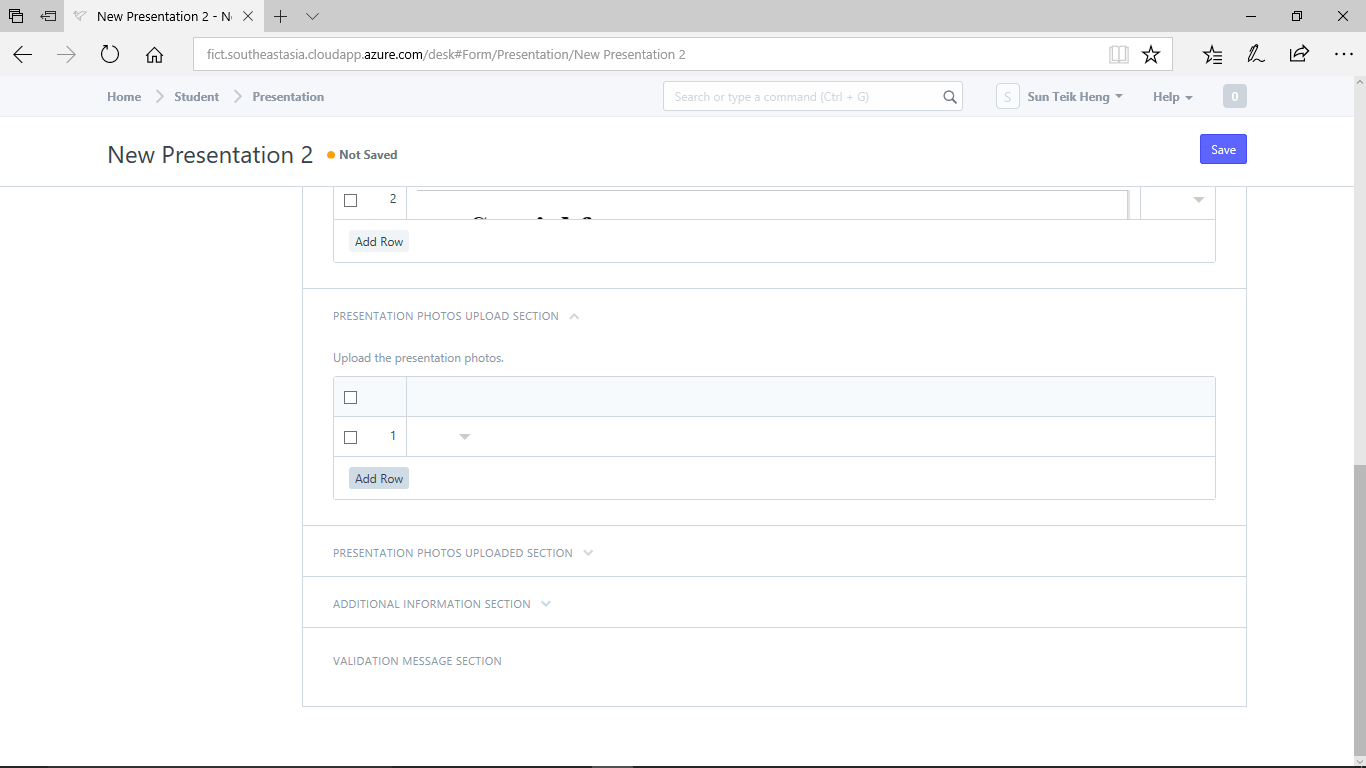
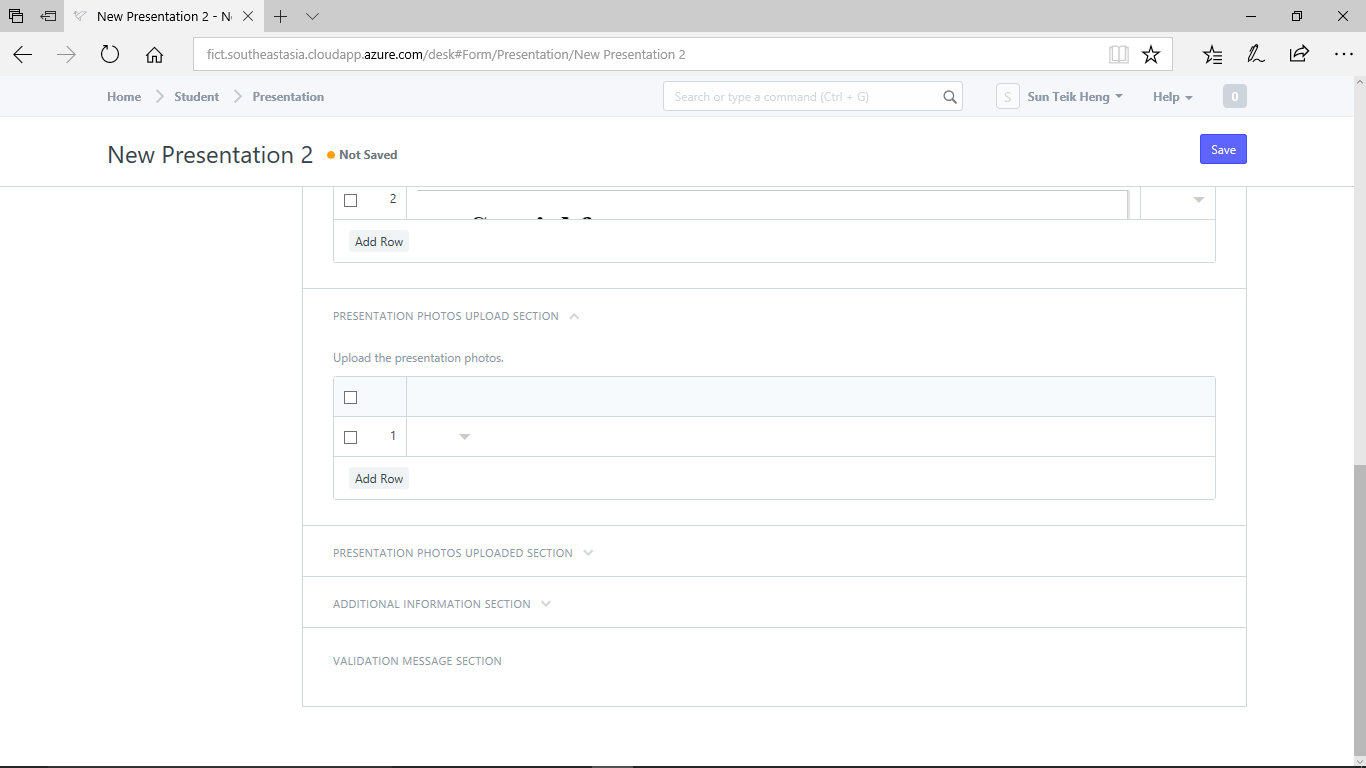
Step 6) Expand "Presentation Photos Upload Section"
You may want to upload photos that you have taken during site visit (when you go over to client place to do maintenance work, installation, etc.) .
Click "Add Row" and then click the "Expand" button.
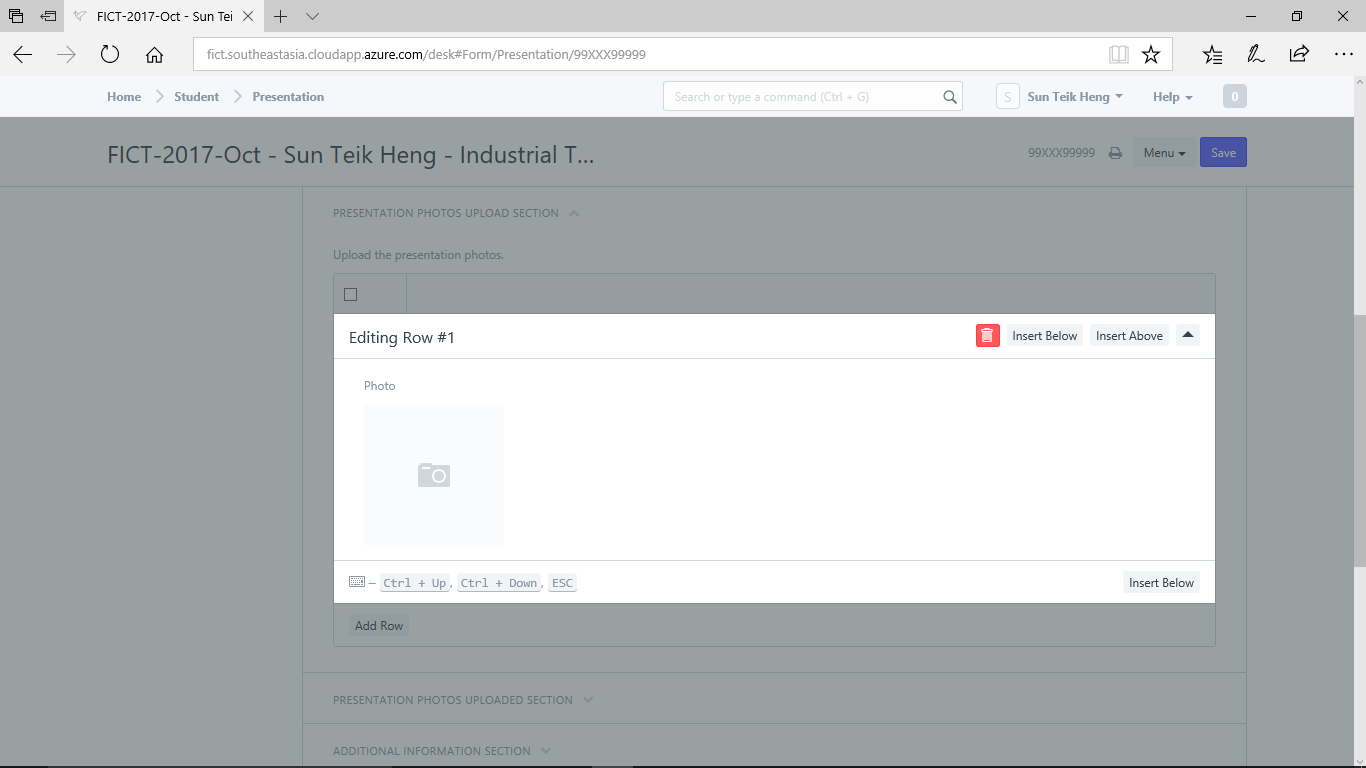
You must save your work before you can upload a photo.
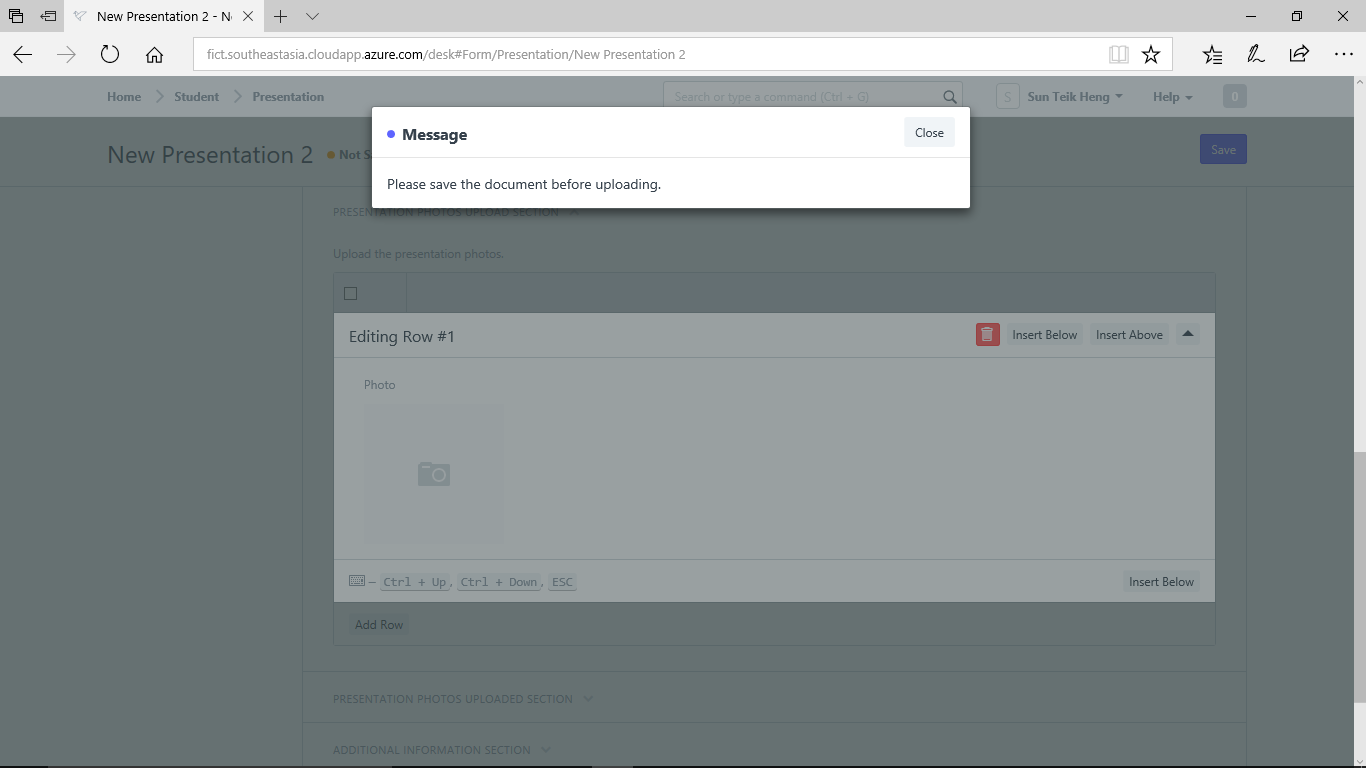
Return to main screen and click "Save"
After save, you can click on the camera icon to upload or take the photo.
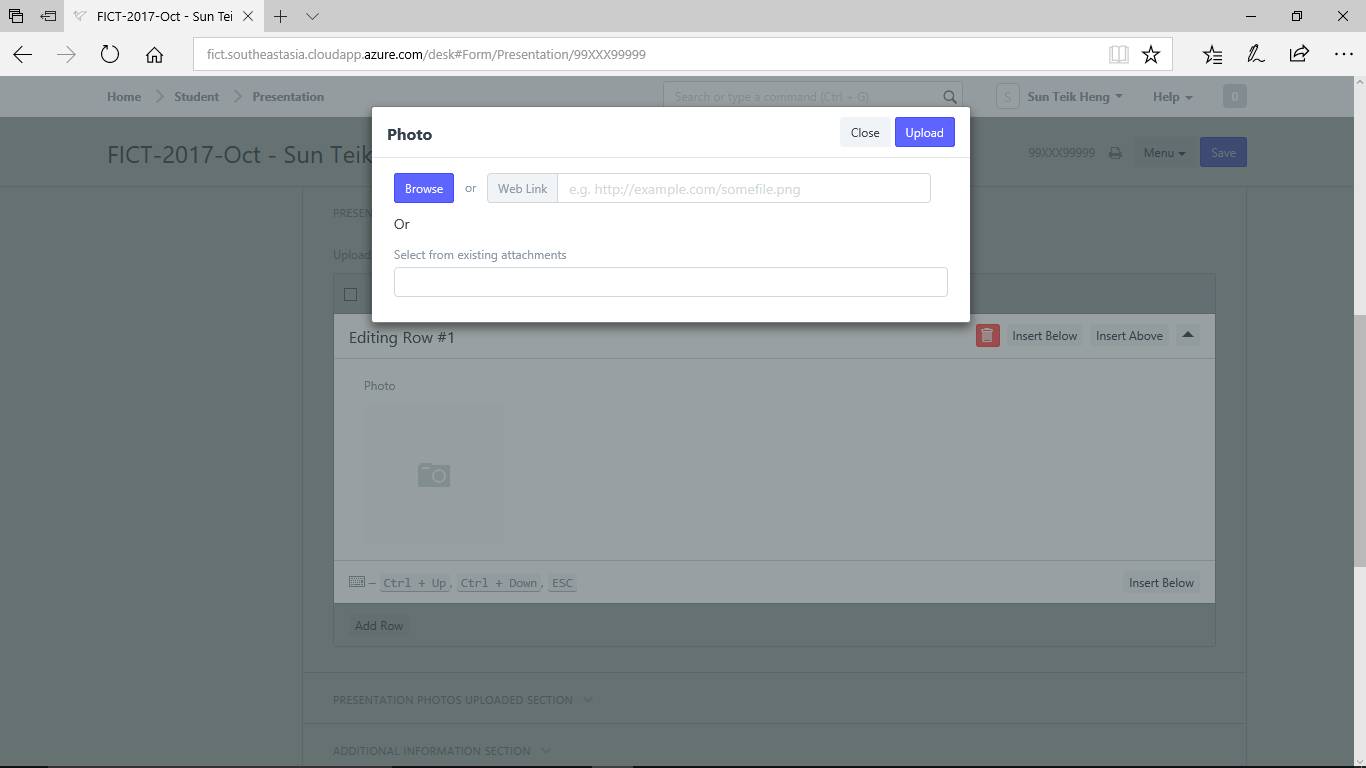
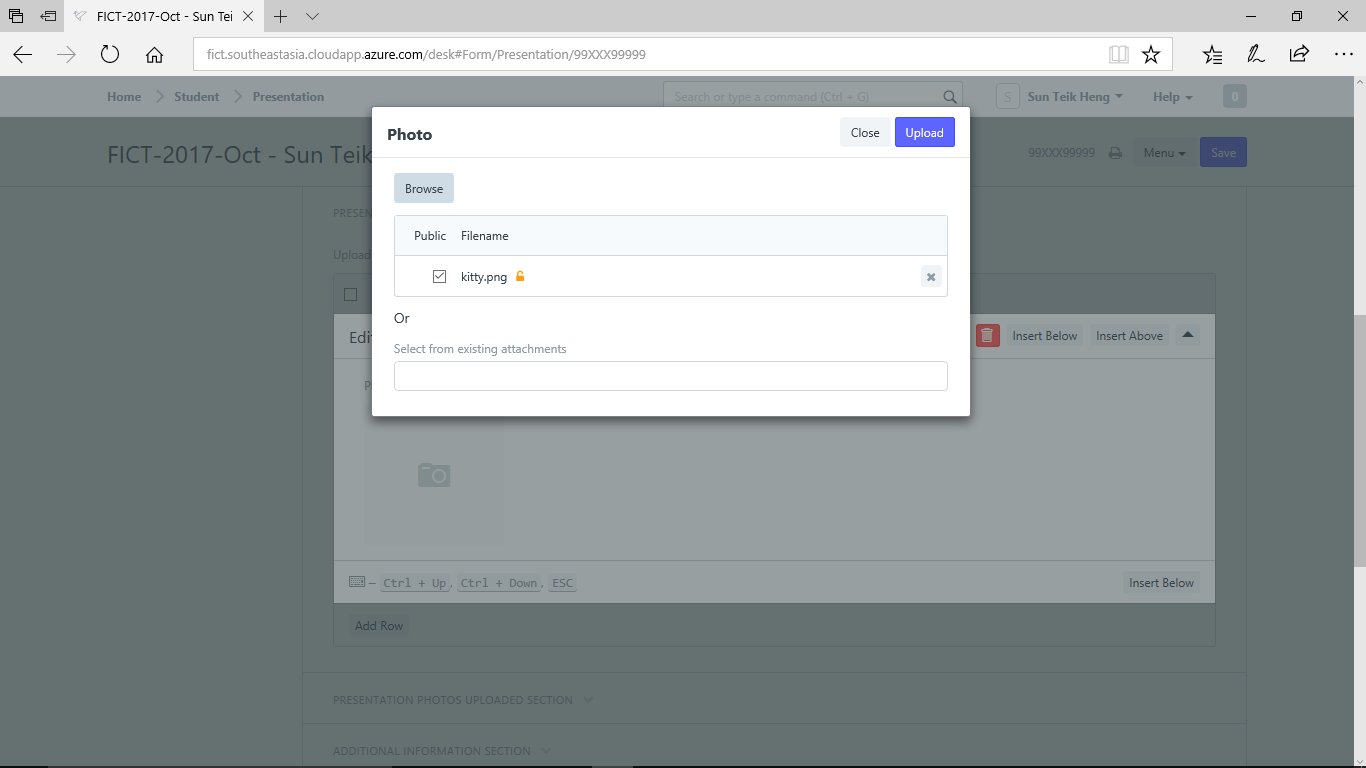
Make sure that "Public" check box is checked and click "Upload"
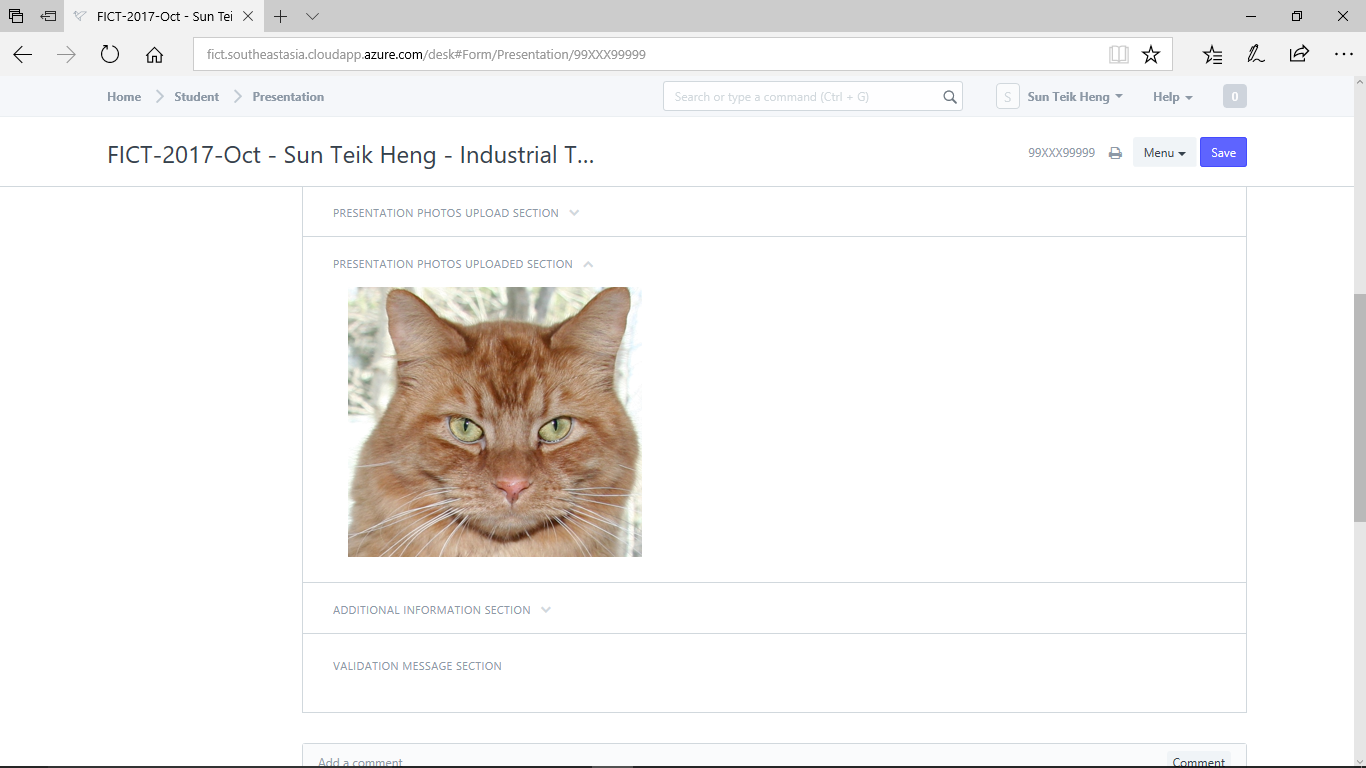
Expand "Presentation Photos Uploaded Section"
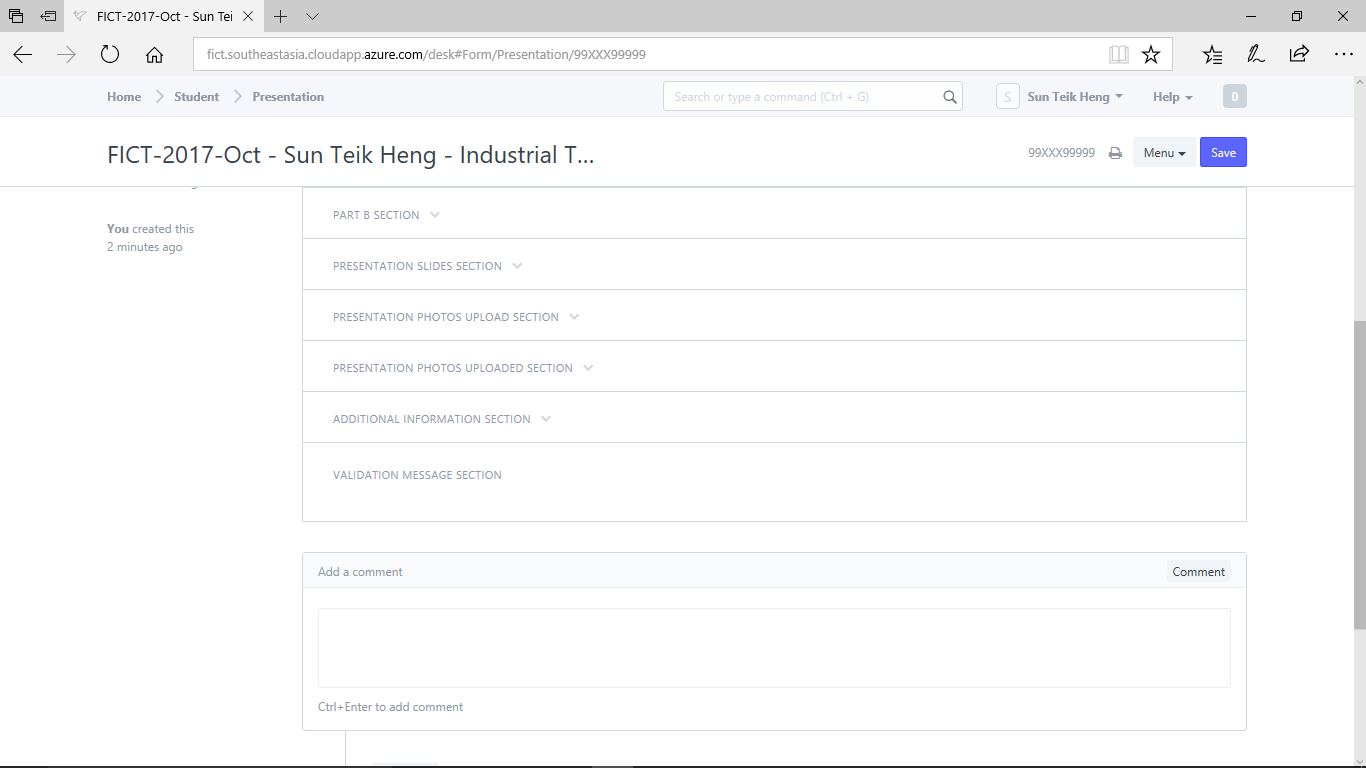
If you don't see the picture there, refresh your web browser.
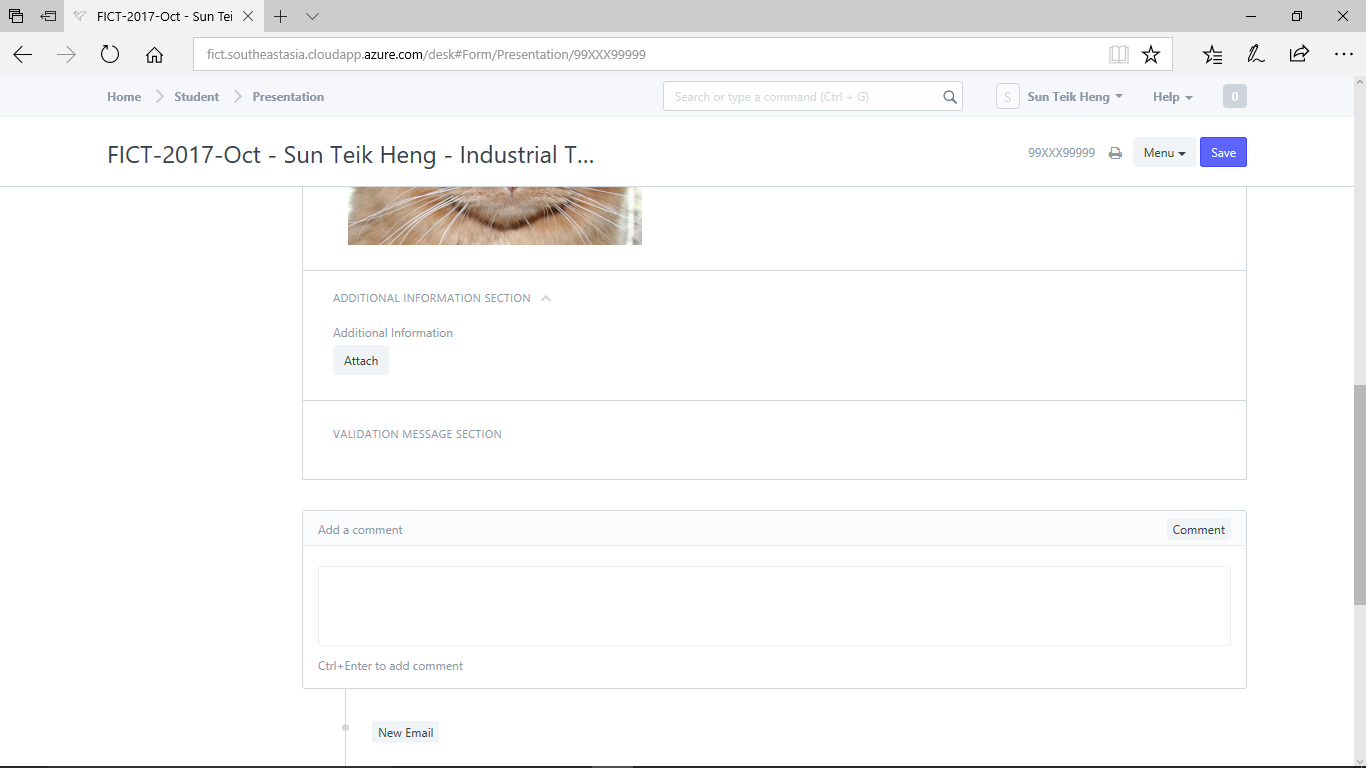
Step 7) expand "Additional Information Section"
If you have additional information to include, to can attache them as soft copy.
No comments yet. Start a new discussion.